
Tile Grout Colour and Joint Planning: A Practical Guide for Noida Homes
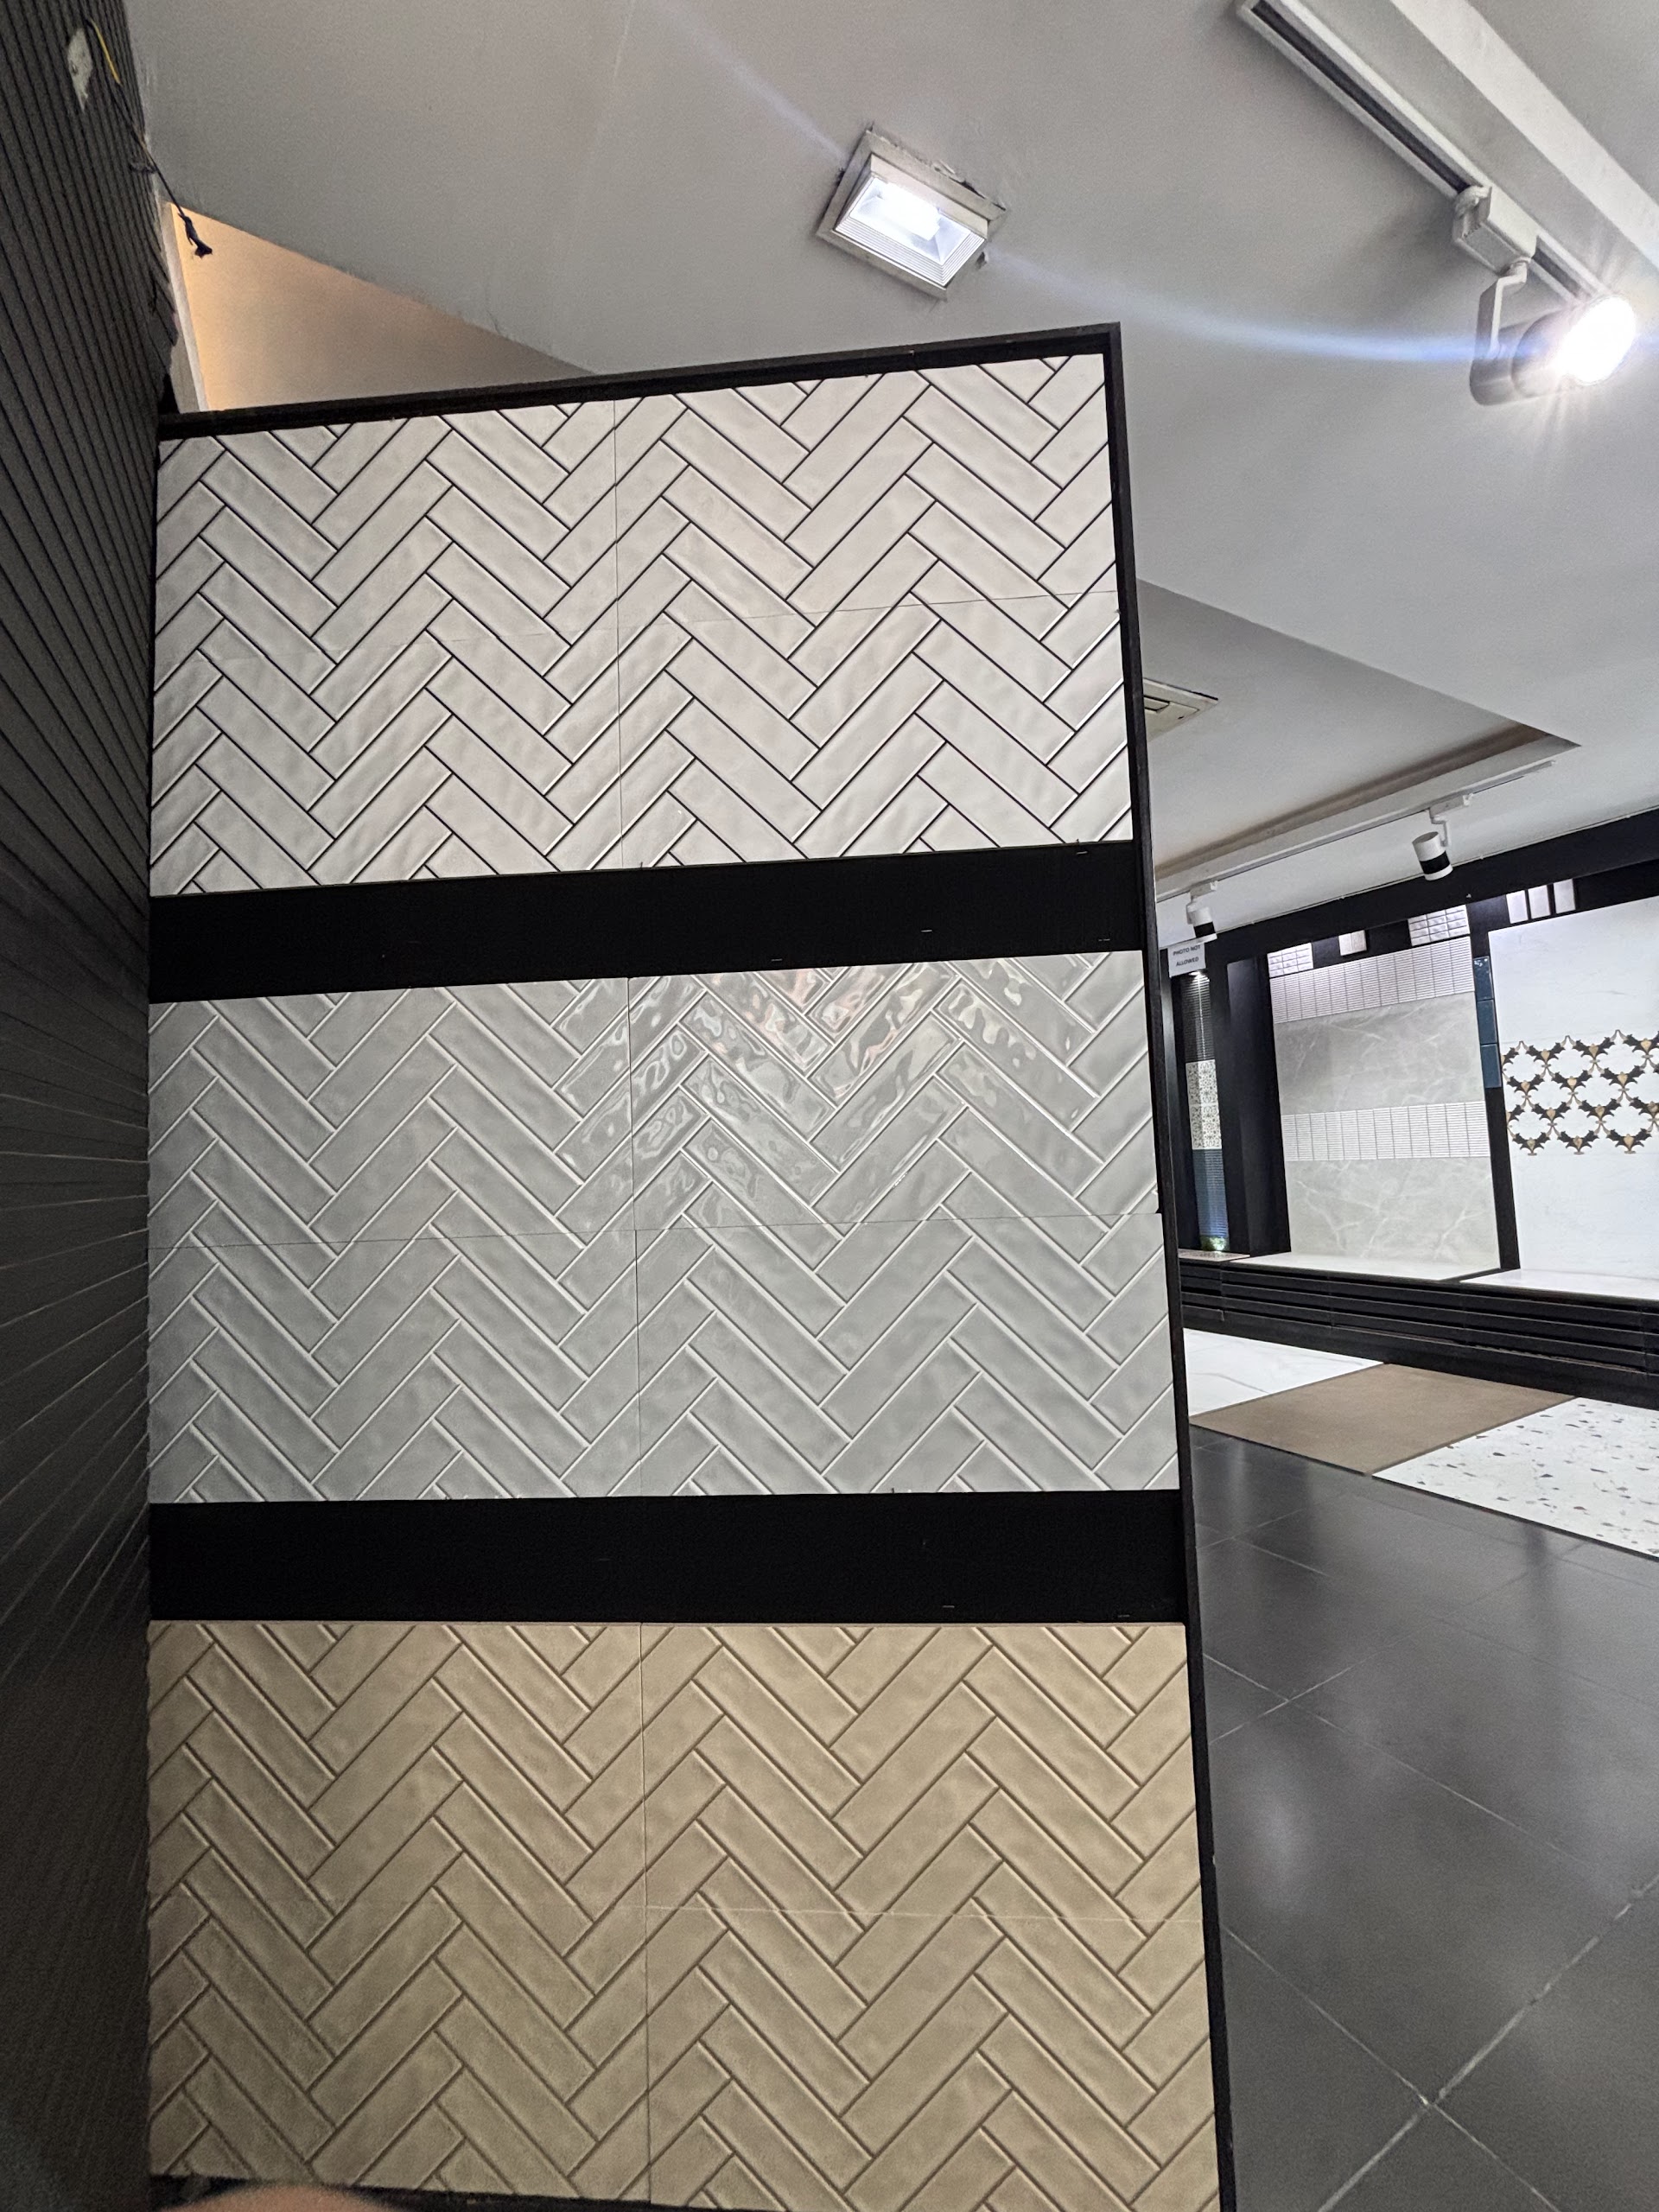
The tile gets most of the attention during selection, but the lines between the pieces change the finished room too. Grout can make a floor feel like a continuous surface or reveal every rectangle, chevron and cut. Its specification also affects maintenance and installation. These fresh photographs from our showroom photoshoot illustrate the visual choices, while the checks below help turn those choices into a workable installation plan.
Decide whether the joints should blend or frame
Start with the effect you want from a normal viewing distance. A grout colour close to the tile's main background tone generally quietens the grid. A contrasting colour makes the individual pieces more obvious. Neither approach is automatically more refined: a calm marble-finish floor and a graphic patterned wall have different needs.
In the herringbone displays above, the arrangement itself is a major part of the design. Stronger joint contrast can underline each change of direction. A closer match lets the surface colour and texture take priority. These are appearance references, not a specification of the grout used in the photographed displays.
Avoid choosing from a colour name alone. "Grey" might describe a cool silver shade or a warmer stone tone. Compare the actual tile with a cured grout sample where possible, and include the adjoining cabinet, wall paint or sanitaryware finish in the comparison.
Make a small trial before committing to the whole room
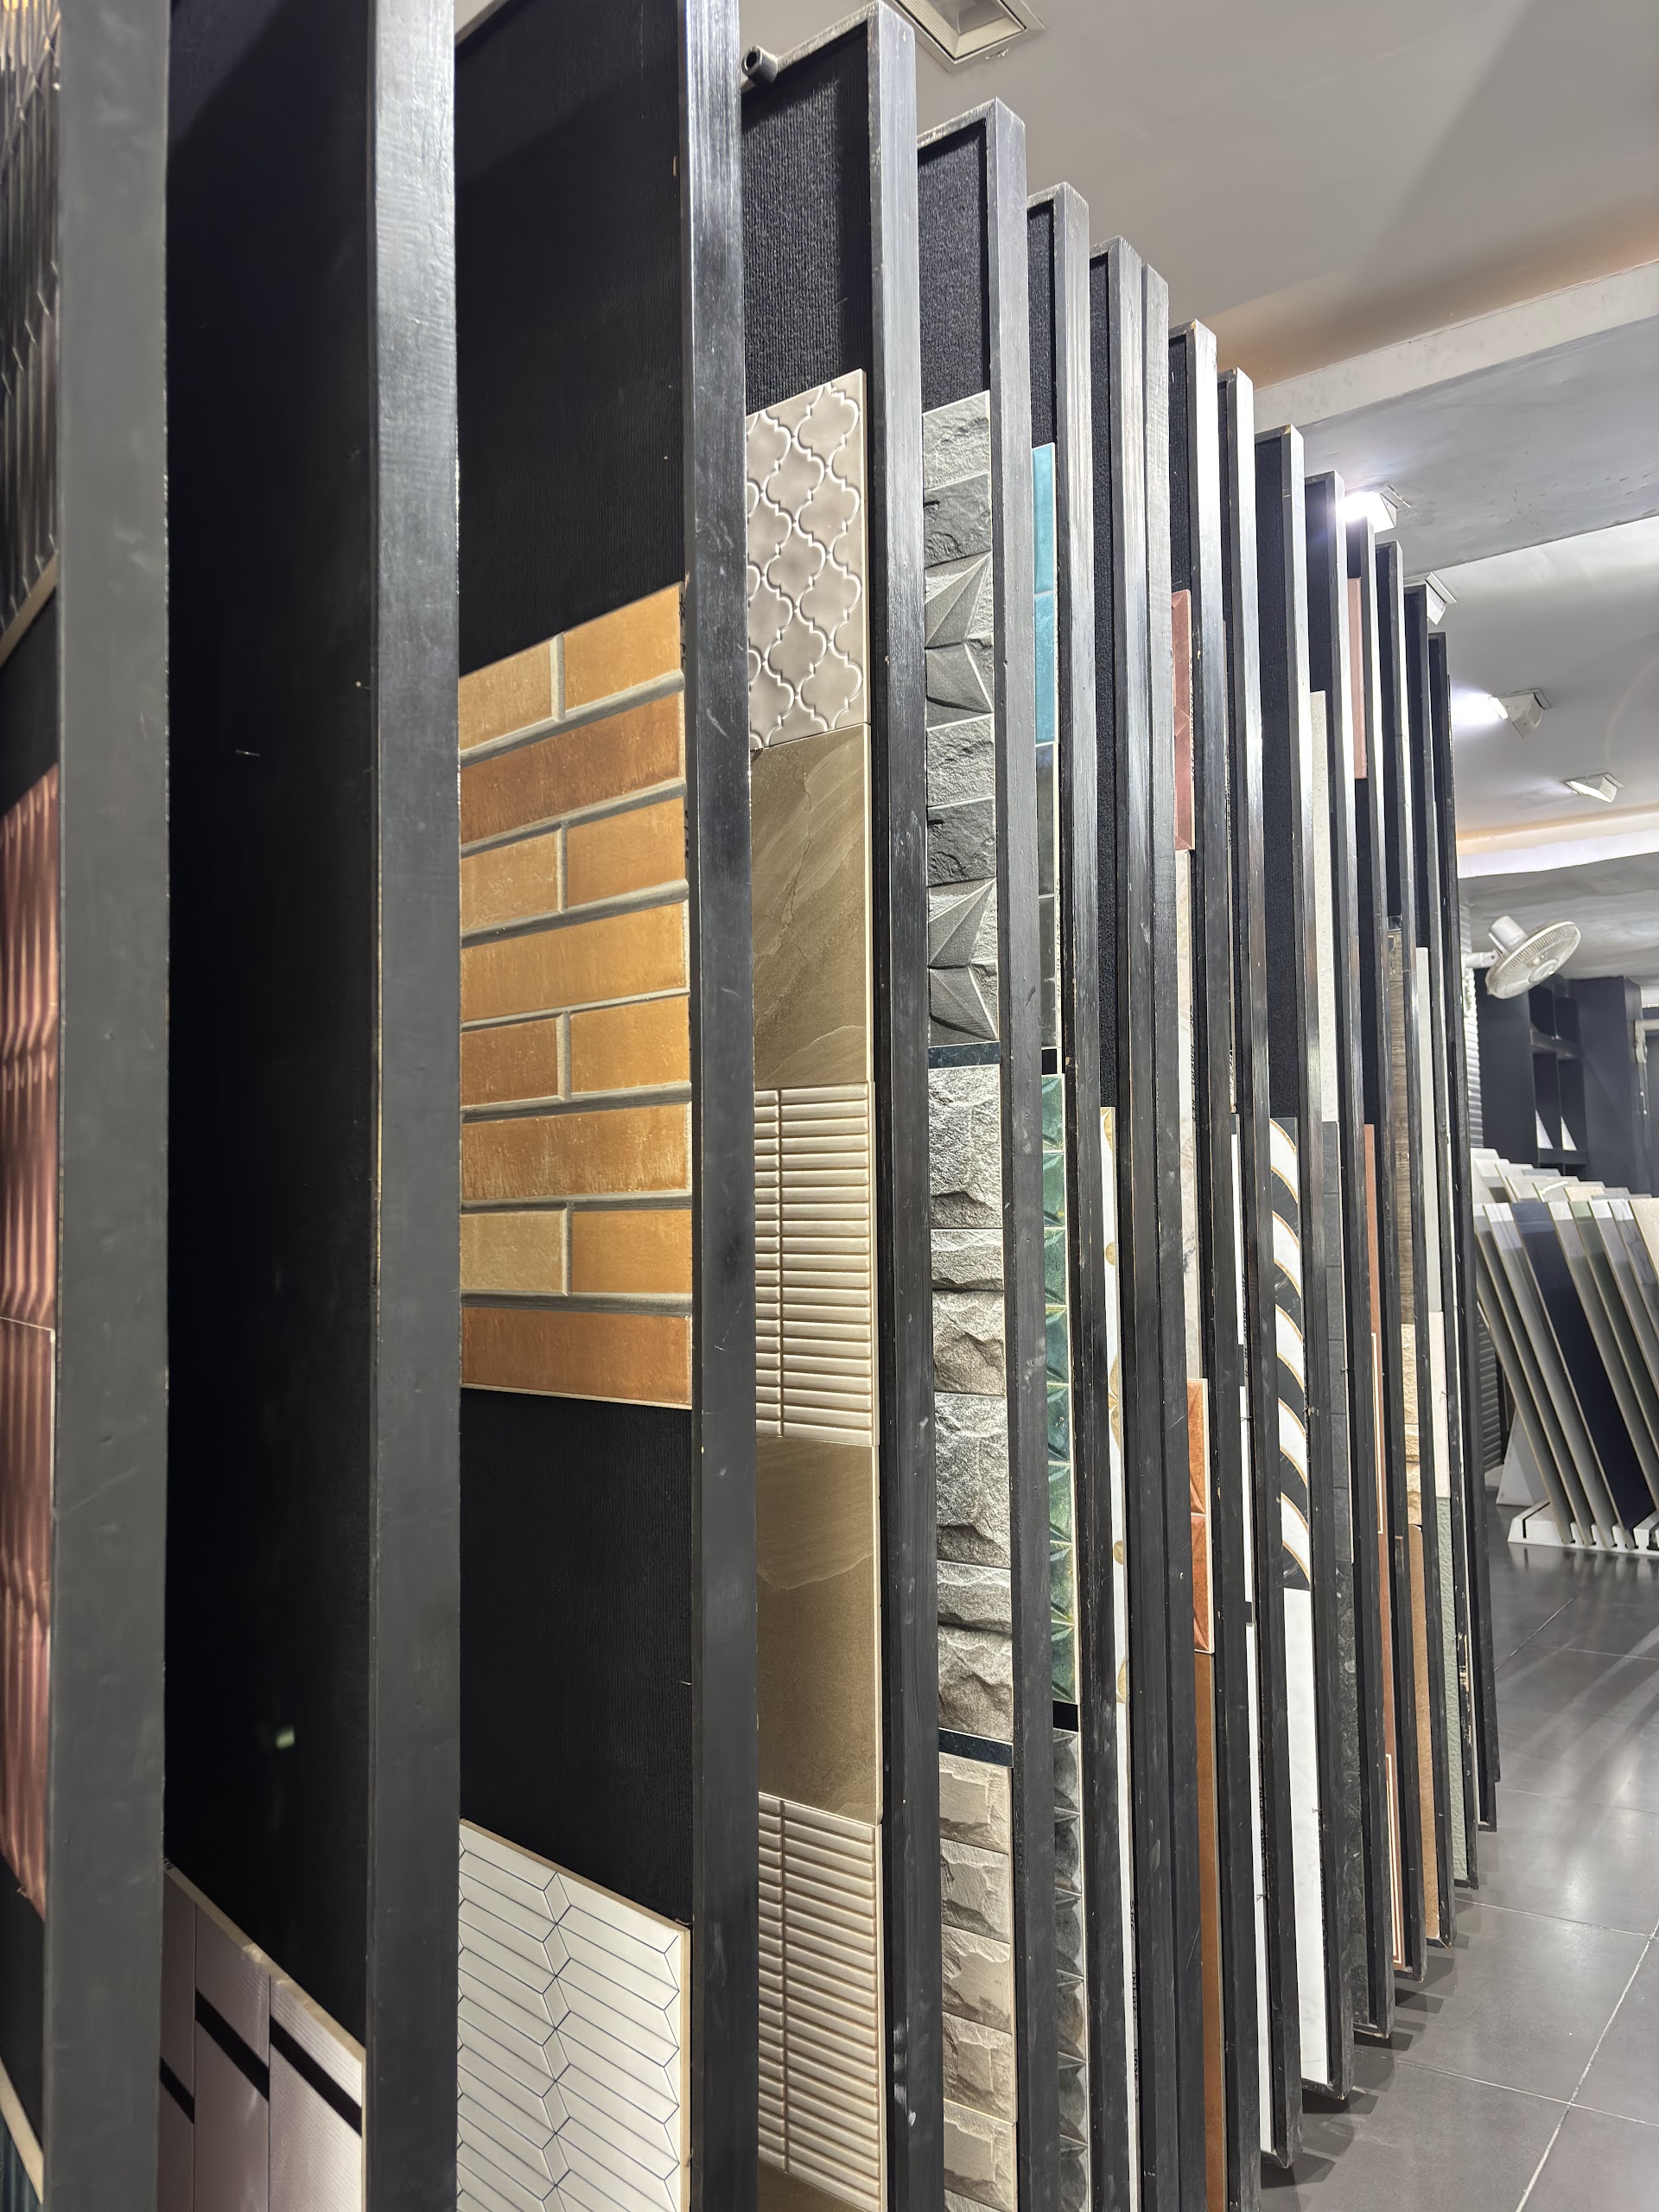
A printed grout chart is useful for shortlisting, but it cannot reproduce every combination of tile texture, joint depth and room lighting. Ask the installer to prepare a small test using the selected tiles and proposed grout. Let it cure according to the grout manufacturer's instructions before judging the final colour.
Inspect the trial close up and from across the room. Check that the grout can be cleaned from the surface without leaving residue or changing its appearance. Textured, decorative and polished finishes may need particular precautions, so confirm compatibility and any pre-treatment with the product suppliers before proceeding.
Also look under the intended evening lighting. A joint that disappears under a showroom spotlight may become more prominent in a softly lit bedroom. Keep the approved trial or a labelled photograph as a reference, but do not use a phone screen as the only colour standard.
Joint width is a specification, not just a style choice
Narrow joints can create a quieter appearance, but there is no universal width that works for all tiles. Edge type, actual dimensional variation, tile size, pattern and installation conditions influence the choice. Rectified edges help dimensional consistency; they do not make a jointless installation appropriate.
Have the installer check the tile manufacturer's guidance and document the proposed joint width before the layout is approved. Check that the chosen grout supports that width. A product intended for one range of joint sizes should not be used outside its stated limits simply because its colour is a good match.
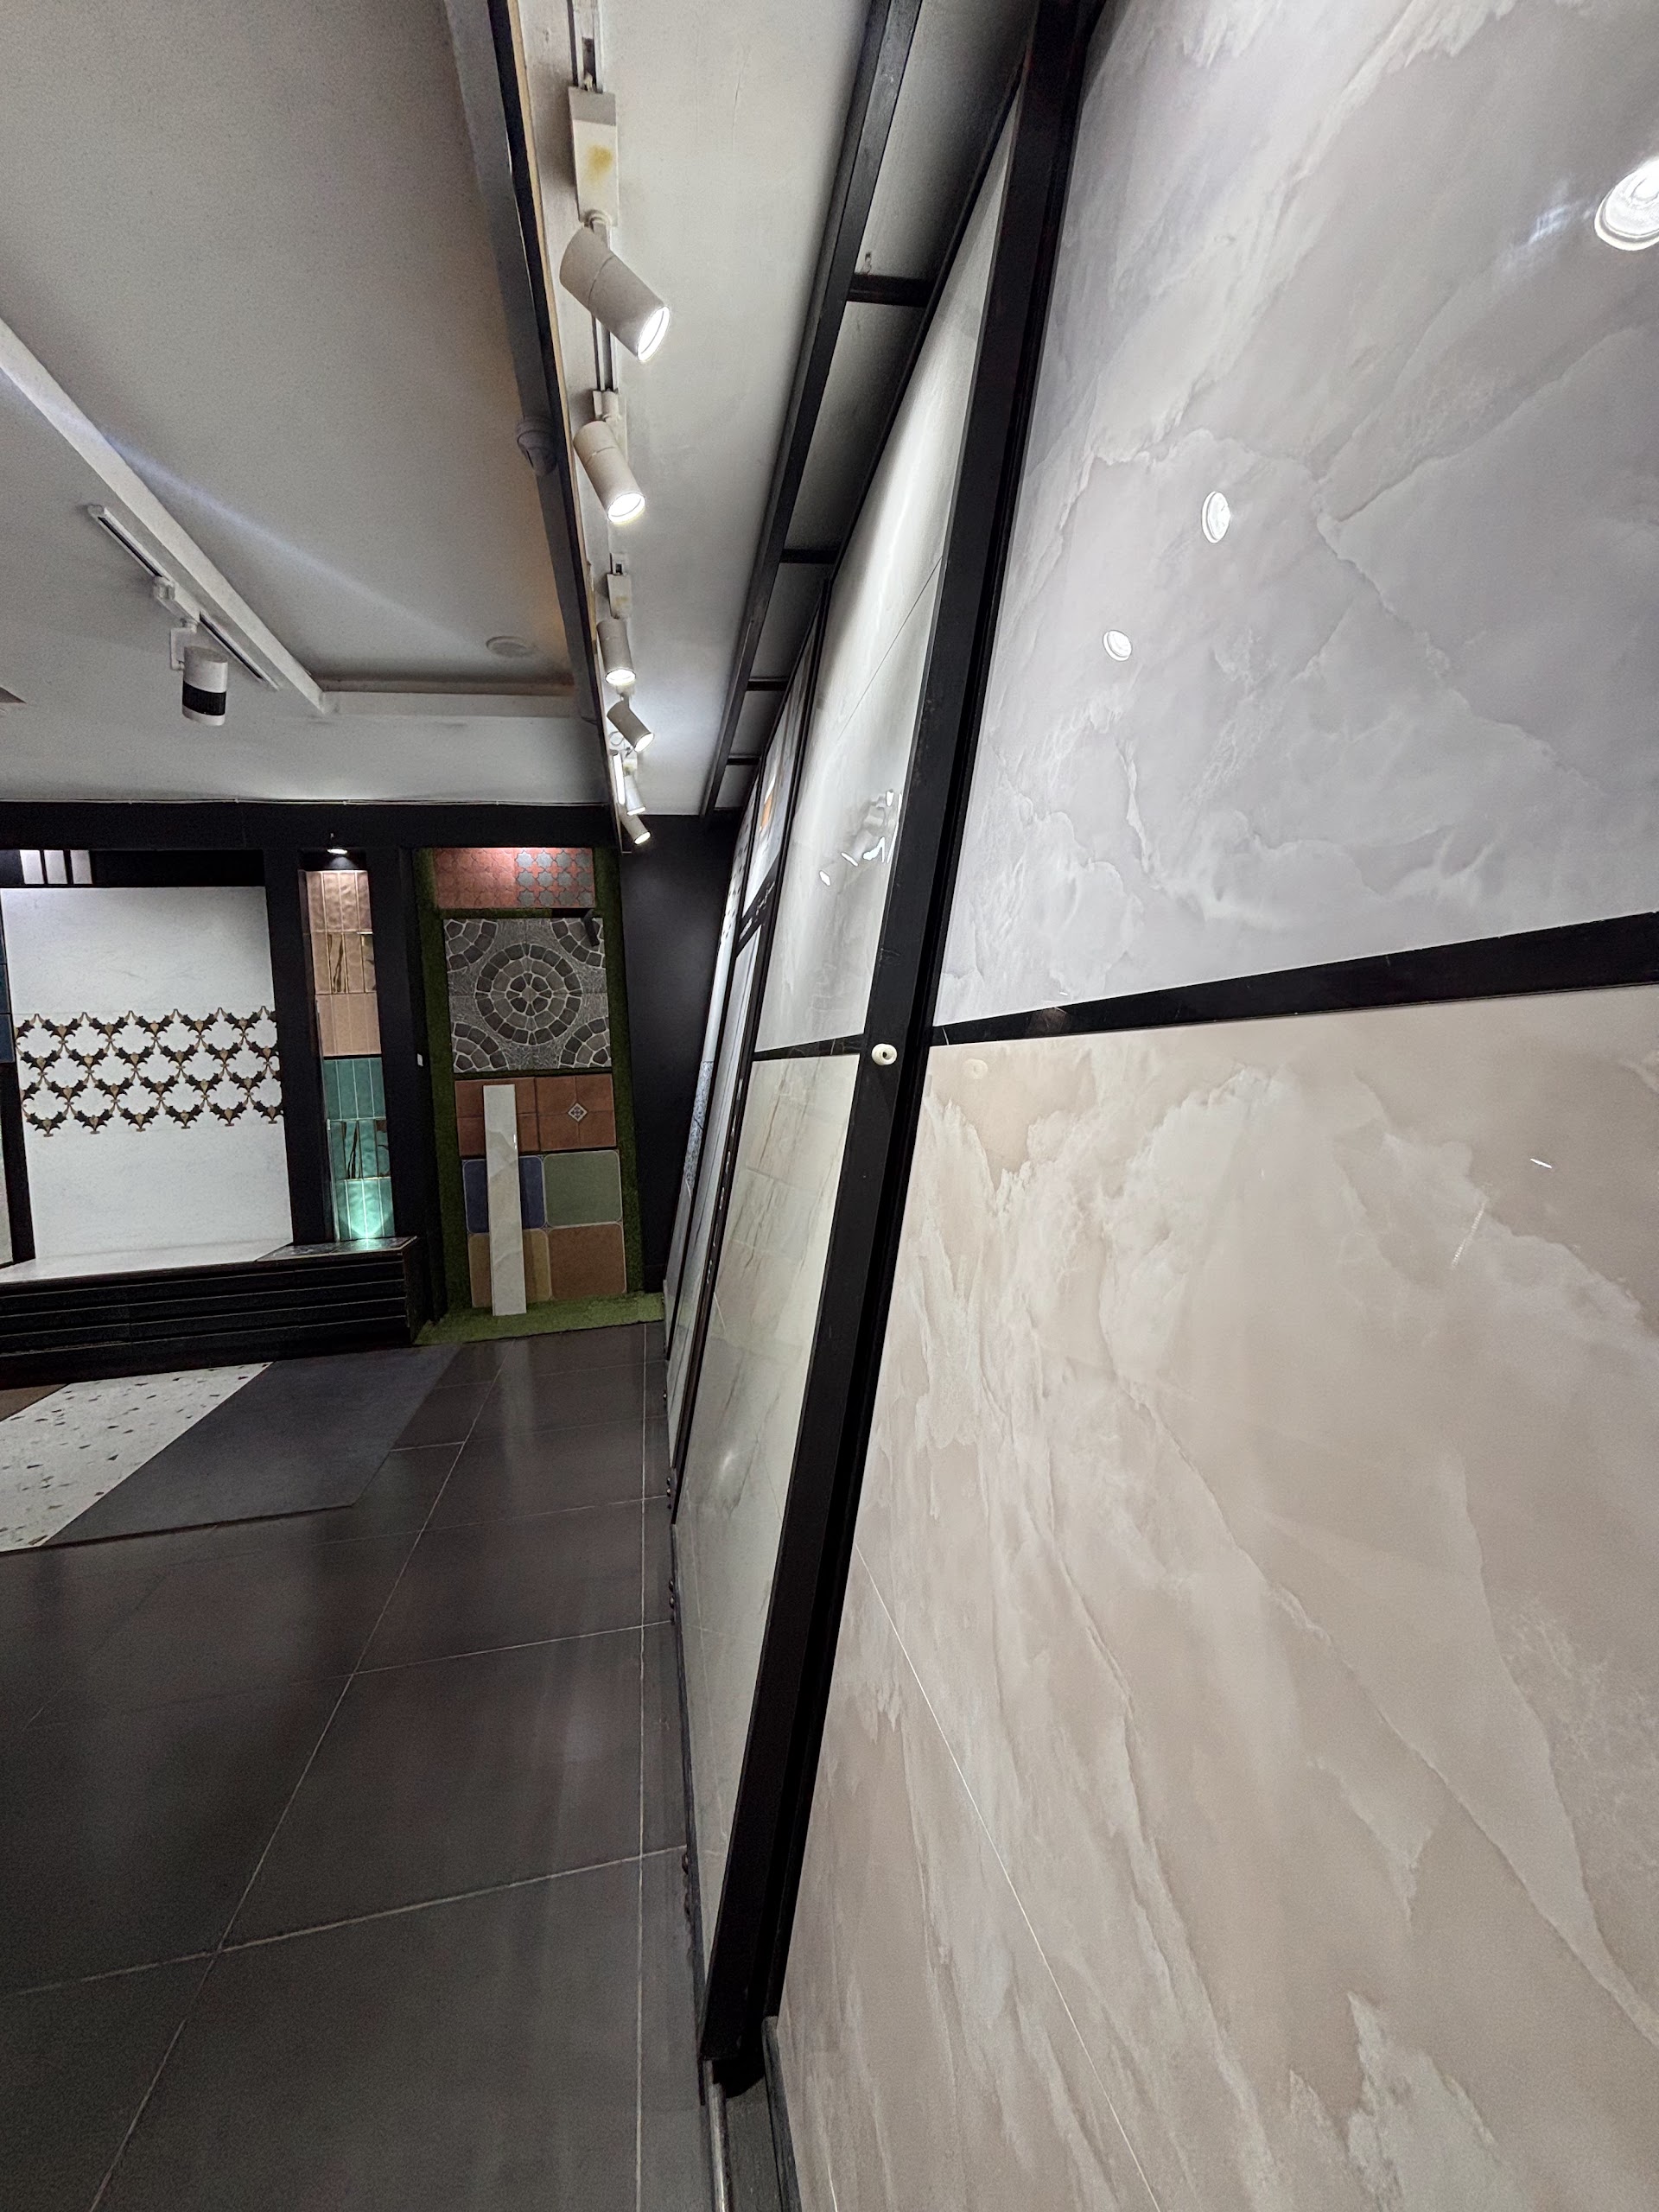
For large-format tiles, review the whole layout rather than focusing on one attractive joint line. Where do cuts land at doorways? Do wall joints align around the mirror? Will a floor transition meet the adjoining room cleanly? Answering those questions before installation is easier than trying to disguise awkward cuts afterwards.
Cementitious or epoxy grout: compare the actual products
Cementitious grout includes a broad range of formulations with different performance characteristics. Epoxy grout is a resin-based system; many products offer strong stain and chemical resistance. The category name alone does not tell you whether a particular product is right for your surface, joint width or cleaning routine.
| Check | Cementitious grout | Epoxy grout |
|---|---|---|
| Application | Verify approval for the intended room and exposure | Verify approval and compatibility with the selected tile |
| Stain resistance | Varies by formulation and maintenance requirements | Often a key strength, but check the product data |
| Installation | Mixing, water control and curing instructions matter | Mixing, working time and prompt cleanup require particular care |
| Surface precautions | Test for residue, staining and any specified pre-treatment | Test for residue, staining and any specified pre-treatment |
| Joint width | Stay within the product's stated range | Stay within the product's stated range |
For a kitchen or bathroom, discuss expected spills, cleaning products and the installer's experience with the proposed grout. Do not treat epoxy as maintenance-free or assume every cementitious grout needs the same sealer. Use the manufacturer's cleaning and sealing guidance for the exact product, and include labour and preparation when comparing quotations.
Keep waterproofing and movement joints separate
Grout fills the spaces between tiles; it is not a substitute for a correctly designed waterproofing system. A shower also needs appropriate substrate preparation, drainage and detailing at penetrations and transitions. Choosing a water-resistant grout does not remove those requirements.
Rigid grout is not the answer at every junction. Perimeters, changes of plane and other movement locations may need a compatible flexible sealant or designed joint system. Have the installer identify those locations and the required materials before work begins. Do not cover existing structural movement joints with tile or rigid grout.
Let one part of a patterned surface lead
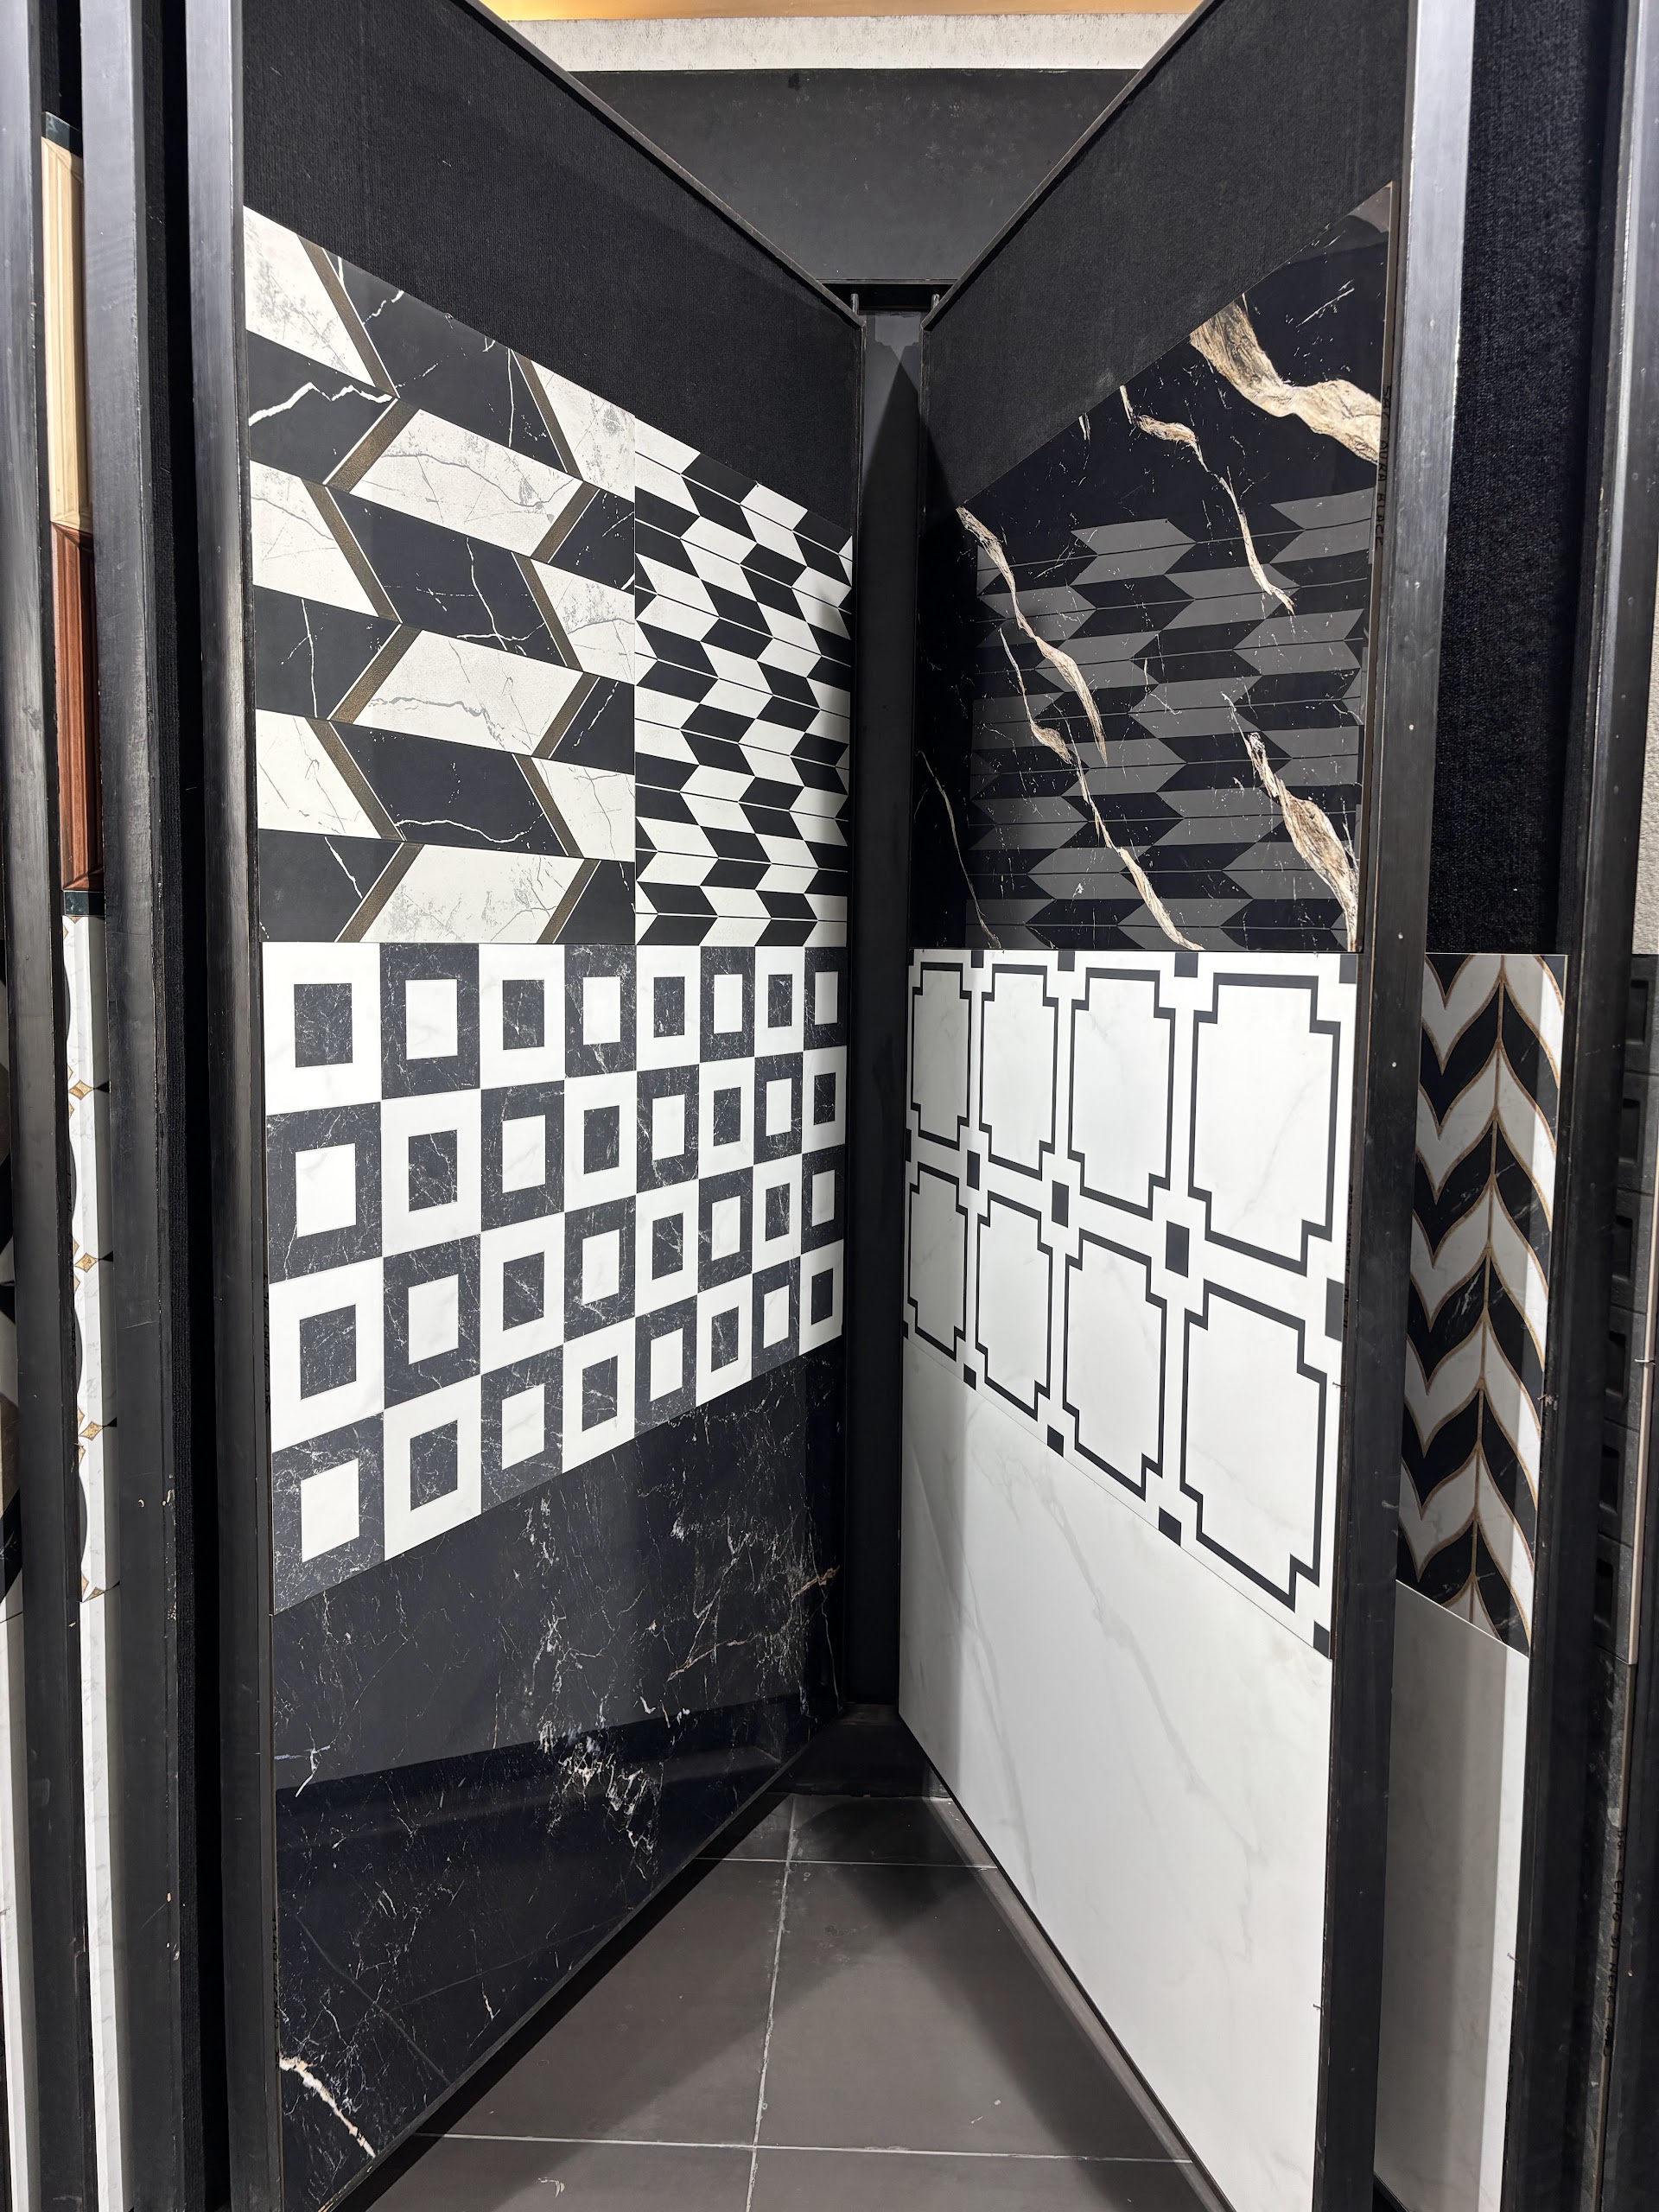
With a graphic tile, there may already be several prominent lines inside the design. Adding another contrasting grid can either sharpen the composition or make it too busy. Lay out several pieces for the trial so you can see the interaction between printed pattern, physical joints and surrounding finishes.
For marble-finish tiles, compare grout to the background colour rather than automatically matching the darkest vein. For wood-finish tiles, assess it alongside several printed faces, not just one plank. In both cases, confirm the final choice on the actual batch and layout wherever practical.
A short checklist before grouting begins
- Record the exact grout product, colour and intended application.
- Confirm tile compatibility and the permitted joint-width range.
- Approve a cured trial with the selected tile and room lighting.
- Mark movement joints and specify their separate materials.
- Confirm adhesive curing requirements before grouting.
- Agree on surface protection, cleanup and the time before use.
- Keep product details and maintenance instructions with the project records.
The best grout choice is the one that supports the intended design and the real conditions of the room. Settle the visual direction first, then confirm the technical specification and installation method. Those decisions deserve the same attention as the tile itself.
Frequently asked questions
Should grout match the tile colour?
A close tonal match usually makes the joints less prominent, while a contrasting colour emphasises the layout. Compare a cured sample beside the actual tile under the room's lighting before approving the colour.
Can rectified tiles be installed without joints?
No. Rectified edges do not remove the need for grout joints or movement accommodation. Follow the tile manufacturer's installation guidance and have the installer specify a suitable joint width for the product and setting.
Is epoxy grout always better than cementitious grout?
Not for every application. Many epoxy grouts offer strong stain and chemical resistance, but suitability, joint-width limits, surface compatibility and installation requirements are product-specific. A suitable cementitious grout can be appropriate for many residential spaces.
Does grout make a shower waterproof?
No. Grout is not a replacement for a correctly specified waterproofing system beneath the tiles. Waterproofing, drainage, substrate preparation and movement joints must be planned separately.
What joint width should I use for my tiles?
There is no single width suitable for every tile. Tile dimensions, edge type, dimensional variation, layout and installation conditions all matter. Confirm the manufacturer's requirements and the installer's written specification before laying begins.
Can the same grout be used at corners and around the floor perimeter?
Do not assume so. Changes of plane, perimeters and other movement locations may require a compatible flexible sealant or a designed movement-joint system rather than rigid grout. Have those locations identified in the installation plan.
Compare the tile and joint together. Visit World of Tile in Sector 9, Noida with your room plan and finish references. Discuss the shortlist with our team, then confirm grout compatibility and the installation specification with your installer.
Plan a showroom visit